Here we look at the steps involved in designing a wintery mountain scene from scratch.

The first steps are simply using general shapes to form the overall structure of the piece. This allows you to refer to each element and begin to get a feel for size and scale before the detail work begins. At this stage the palette isn't too much of a concern nor is the detail of the terrain, unless you a basing this image on a specific photograph or landscape the final design will ultimately develop and change as things progress.
Next up we begin to add in some more detail and colour...

Pastel Skies
As you can see we have started to bring in some colour to the mountains using the gradient mask. This often works better with complex shapes using minimum anchor points. This way when colours are changed, a much larger area of the surface will follow. The sky is a simple gradient built up of pastel blues and purples. You will see as we progress we add in some real star constellations for those with a keen eye for detail.

We are now beginning to develop the palette and getting a real feel for the mood of the piece and it is already beginning to feel like a crisp winter's evening. This image highlights the point made earlier about using fewer anchor points in the gradient mesh to cover a bigger area.

“It's already beginning to feel like a crisp winter's evening.”

Foreground Details
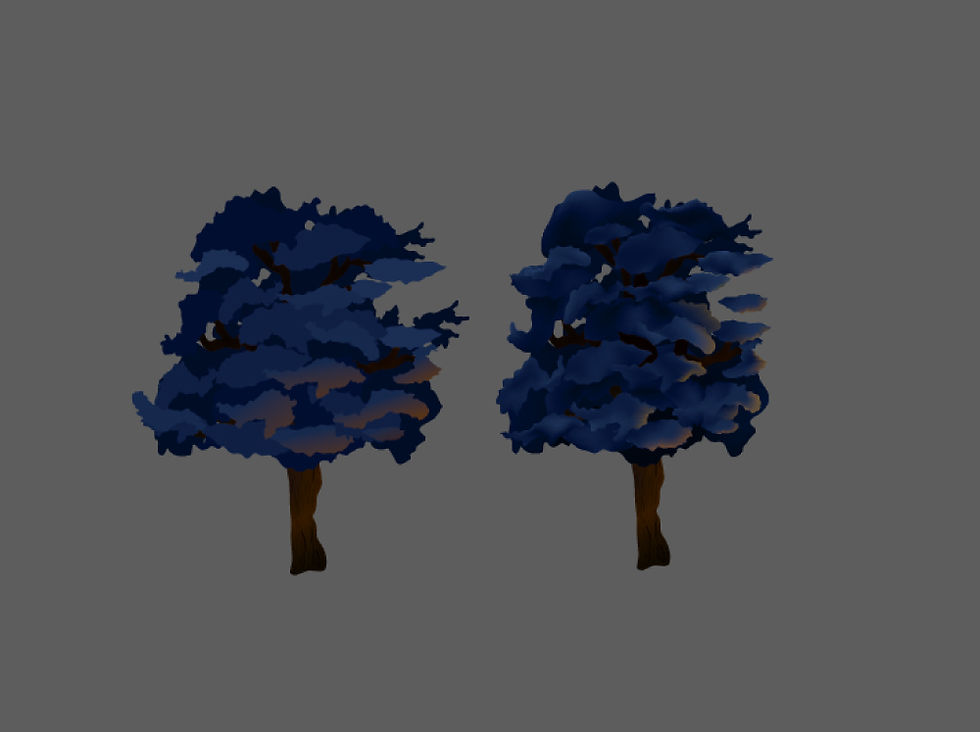
The foreground is the area that is worth spending the most time when it comes to adding detail. The trees were creating using the pencil tool in Adobe Illustrator and adding in the flat colour begin creating shadows and light areas. The light areas to the right will form the glow from the tents. Again, using the gradient mesh provides more depth to the leaf areas. once the tree is finalised it's far simpler to fashion a handful of similar trees to replicate, however, it's important to make sure to adjust the gradients to account for the moonlight and camp area.
The Finer Details
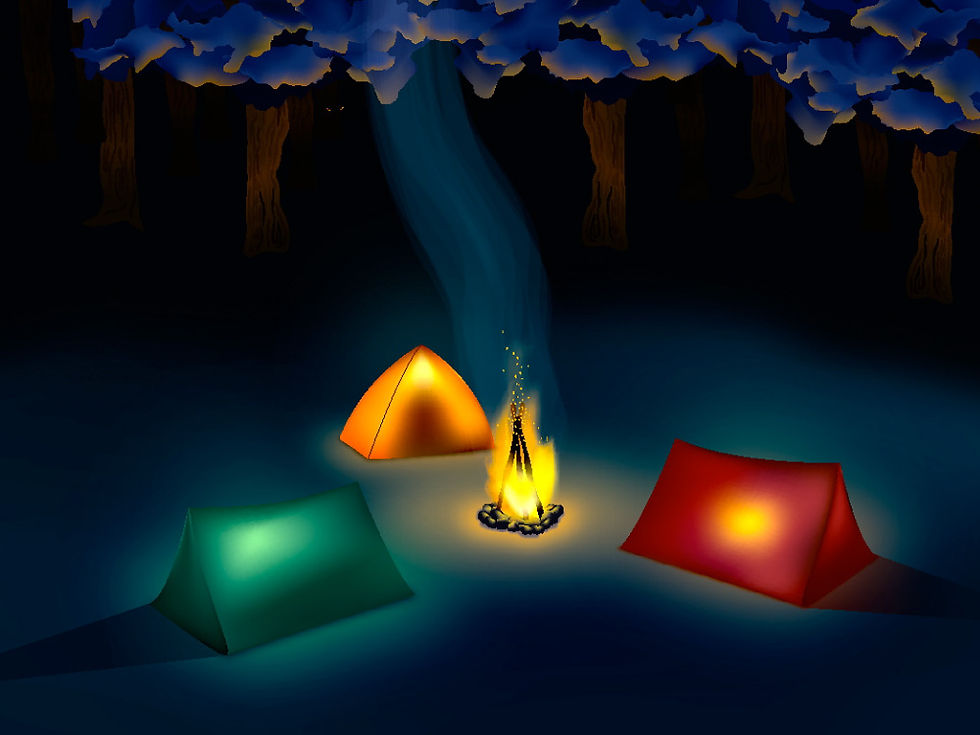
The final touches is the most fun, at this stage you've done most of the hard work and you can be more creative with the finer details. The brush tool has some fantastic presents to create the fire building up gradually with multiple layers with varying colour and opacity. The wolf eyes are far more detailed than they need to be due to the scale, although if this was printed at a very large size they may be more visible. The beauty of Adobe illustrator is that you have the option to zoom in and really add the detail and each stone and tree reflection in the water was done individually.


The Finished Piece...
Can you spot the two constellations? The finished piece, based on Jack London's, The Call of the Wild has a really fresh and chilling feel to it. This piece is available for digital download or as a framed piece. Drop us an email to find out more.


Comments